How did you use media technologies in the construction and research, planning and evaluation stages?
Google Suites
The most prominent piece of software we used in our group was definitely the use of Google office suites. Google Docs, Slides and Forms were all incredibly important to us during the planning, production and post-production stages, and enabled us to collaborate ideas through word processing, tables, and the general sharing of knowledge and concepts of what we might do for our production. On Docs, we started sharing basic concepts of what we could base our music video on, and combined ideas together to reach our final plan. We created a crucial table which compiled our lyrics, relevant information, storyboarding and any other important details in one place, easy to find. On Slides, we created our pitch presentation, and all other presentations we needed throughout the production process. We also used it to create a basic draft of our printwork digipak, and eventually it is what we used to produce our answer to Question 3 of the evaluation. The mobile apps for both of these programs helped me complete work whilst on the go. Google Forms was our primary means of gathering audience research during early stages of planning and production, and was our main means of gathering feedback and critique after production and post was complete.
WordPress
The WordPress blog easily replaced the Blogger system we had used at AS Level, and was intuitive to learn and collaborate with. All of our planning, production and evaluation work was posted there, and it allowed Jon and myself to easily compare each other’s work, and give feedback and critique to raise our marks. Group posts could easily be drafted and  collaborated on. A mobile app was also available for WordPress, and again it was incredibly helpful in productivity, for example, I could start an evaluation post in class, and then
finish and upload it on mobile.
Cameras
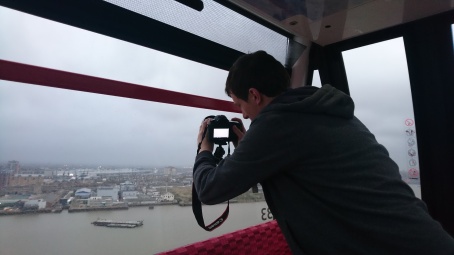
We made use of several cameras, as we wanted to have the best quality footage for our music video, and the best stills for printwork. The Canon 5D Mk III was only used on two of the sh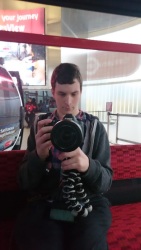 oots as it was loaned from an associate, however it garnered some incredible shots. The optical zoom feature on the lens proved useful at the time to produce shots that were later perfected in Premiere. Much of our final printwork was shot on this camera which
 gave them incredible fidelity, detail and high resolution. It was used to capture the all-important panorama that formed the interior of our pack. Even so, we could have been better equipped to use it had we had more time to practice using it. The Canon 700D was our primary shooting camera for all of our other dates, and although it captured in slightly less detail, our greater deal of experience in using it made us
 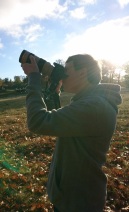 more familiar with how powerful it could be. Jon’s array of lenses meant tha
 t this camera was rather versatile and suited a lot of the various shots we needed to capture. On our preliminary in Brighton, we experimented with another loaner camera, the DJI Osmo, with an auto-stabilising feature. We did not end up utilising it for the final production, however it was useful in determining that we should not shoot our video in 4K due to the issues it would bring up in post concerning file sizes, and the Osmo’s battery life was awfully inefficient, at only around 45 minutes maximum. We briefly also used an iPhone 6s to capture a slow motion shot at 120 frames per second, to replace a 50 fps shot recorded initially on the 700D at only 720p.
Equipment
 We used a tripod throughout our principal photography for steady shooting and well framed shots. It proved vital in the outdoor and
 Calverly shoot to position shots higher than we could physically reach, for the sake of the visual style we were attempting to emulate. The track and dolly were used sparingly, and most prominently in the indoor house shoot where the shots needed to be steady, smooth and well focused.
Adobe Suites
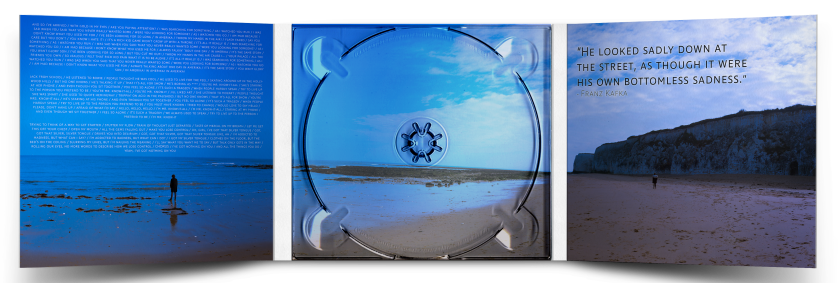
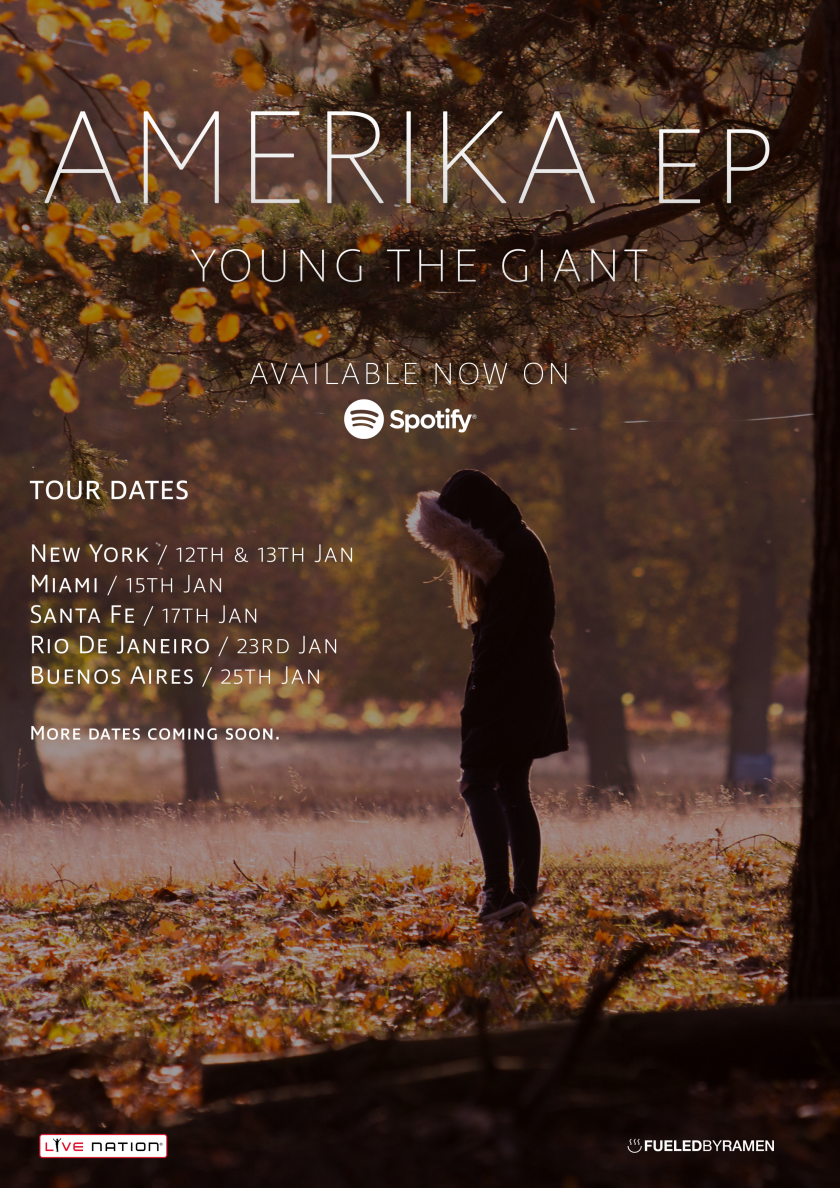
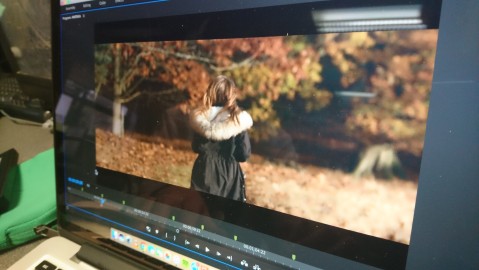
A lot of Adobe products were our main methods of post-production in all areas. Premiere Pro CC2016/17 was our tool for editing and cutting together our video. Since we had greater experience using it, we opted to continue with Premiere rather than switching to DaVinci Resolve, as it was something we were personally more comfortable using. We used it to perfect the slow gradual zooming shots using the software scaling tools, and reduce the playback speed of 120 fps footage to achieve the slow motion effect we wanted. We used Lumetri grading to darken several shots to appear darker, and as if they t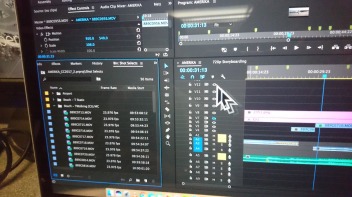 ook place in the evening and Lumetri was also what we used to give our music video the tinted red grading. Photoshop CC2017 was what we used to make edits to our printwork and digipak panes. All of the final printwork was put through here to experiment with colouring and layout, using enhancement layers to make major gradient changes, and colour curves to make fine tuning adjustments to the shades and pigments we were using. Late into production, we purchased and downloaded some online templates into Photoshop, which enabled us to see exactly how our final digipak would look in a physical format. Adobe Lightroom 2015.8 allowed us to collate all of our static shots together in one place for comparison and review after shooting dates. We could overlay enhancement layers over multiple shots and compare their merits side by side, making it much easier for us to decide which shots would best suit our printwork. After Effects CC2017 was used sparingly in the final products. It was used to digitally perfect a select few shots, one for example was the final shot, where the pole centered mid-frame had an outlying shape removed in order to make the framing even more appealing to the eyes. Finally, Audition CC2017 was briefly used after the Brighton shoot, shortening our song choice to two minutes in order to better fit the footage we captured.


 For our first shoot, on October 25th, myself, Jon and our lead actress Rachel, drove down to Broadstairs on the